
Documentation Index

Fetch the complete documentation index at: https://docs.clearspend.ai/llms.txt

Use this file to discover all available pages before exploring further.

After your first login, ClearSpend opens a short onboarding wizard. The whole flow takes about a minute and only runs once — you’ll land directly on the dashboard on subsequent logins.

Step 1 — Your profile and organization

Onboarding Step 1 — profile and organization setup
Fill in four quick fields:
  • Full name — how you’ll appear to teammates
  • Work email — pre-filled and read-only; your domain (@yourcompany.com) is used to group your team
  • Your role — Finance, IT, Founder, Engineering, etc.
  • Organization name — defaults from your domain; edit it if needed
Hit Next and ClearSpend creates your workspace. Any future signup with the same company domain is automatically routed to join your org rather than starting a new one.
Already part of an existing organization? If a colleague has already signed up with the same domain, you’ll be routed to Request to join before reaching this step.
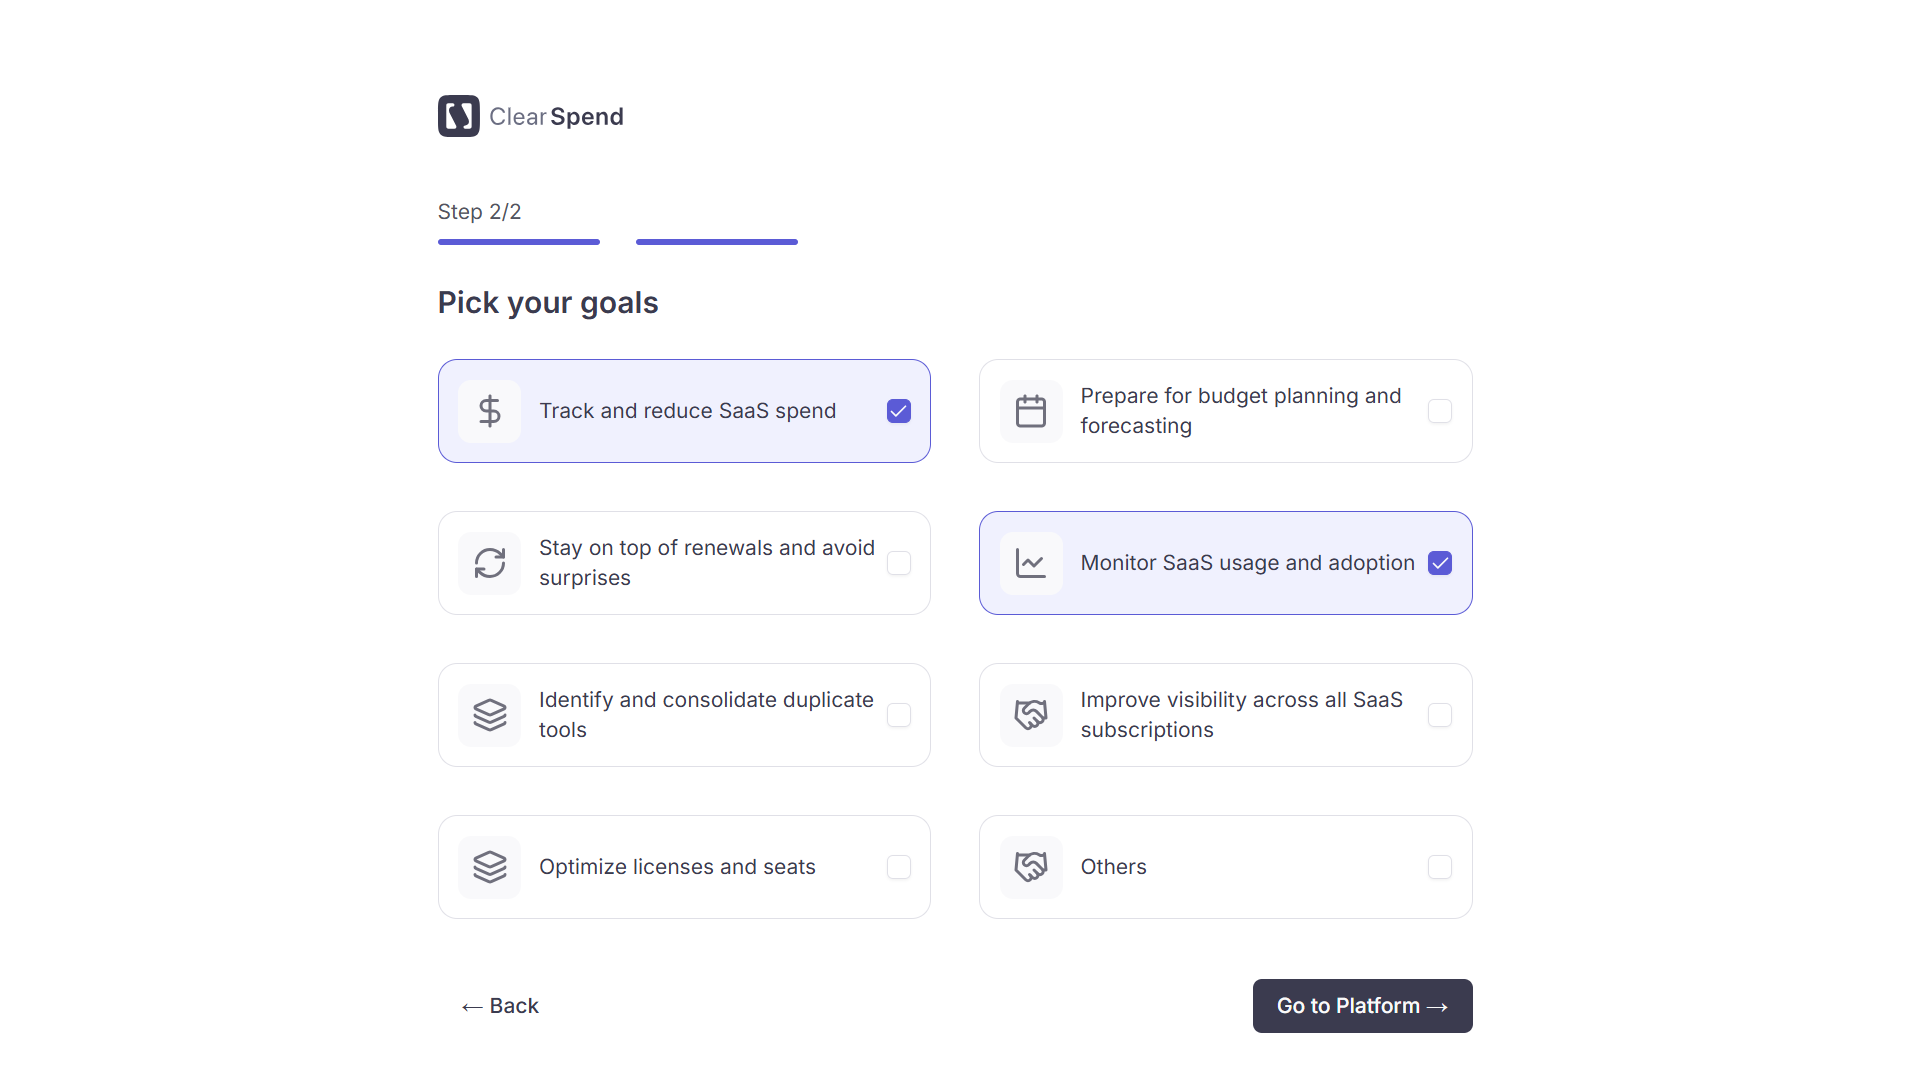
Step 2 — Your goals

Onboarding Step 2 — pick your goals
Pick one or more goals that best describe what you want to get out of ClearSpend — things like reducing SaaS waste, tracking renewals, centralising invoices, or getting visibility into shadow IT. You can select multiple or skip with Skip for now. Click Go to Platform and you’re in. You’ll land on the dashboard where you can start adding your data and begin managing your SaaS spend straight away.

Re-running onboarding

Onboarding only runs once per user. If you need to change your name, role, or organization name later, head to Settings → Profile. Goals aren’t editable in the UI today — reach out to support if you’d like them updated.