Open your workspace
Log in to app.clearspend.ai. The login screen offers two options: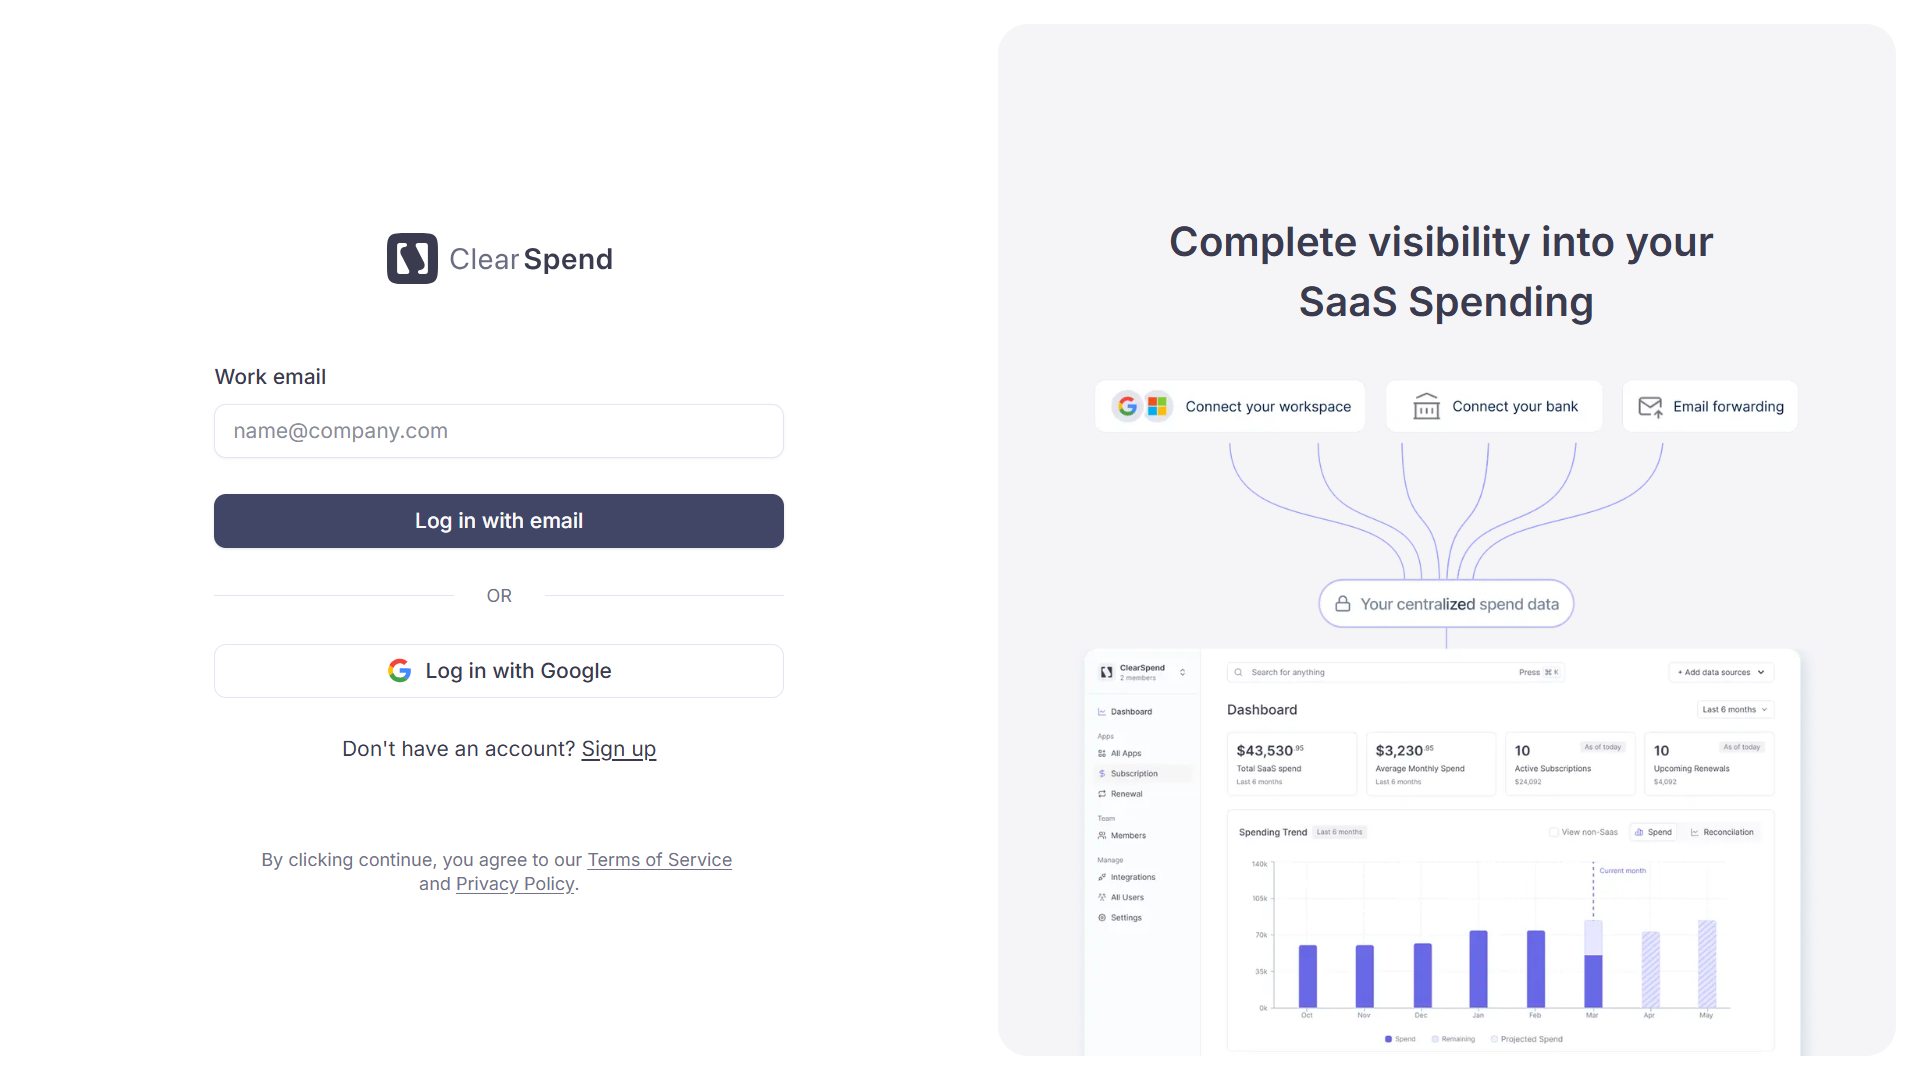 Once logged in, your organization name and total subscription count appear at the top-left of the sidebar.
- Login with email: enter your email and receive a magic link
- Login with Google: sign in via your Google account
Signing up for the first time? Personal Gmail accounts are supported so you can try ClearSpend out, but we recommend signing up with your work email: it lets us auto-claim your company domain so teammates land in the same workspace instead of creating duplicates. After signing up you’ll go through a short onboarding flow (name, role, organization, goals) before landing on the dashboard. If a colleague has already signed up your company, you’ll be routed to Request to join.
Connect a data source
If your workspace is empty, the dashboard shows a “Connect or add your first subscription” screen with two buttons: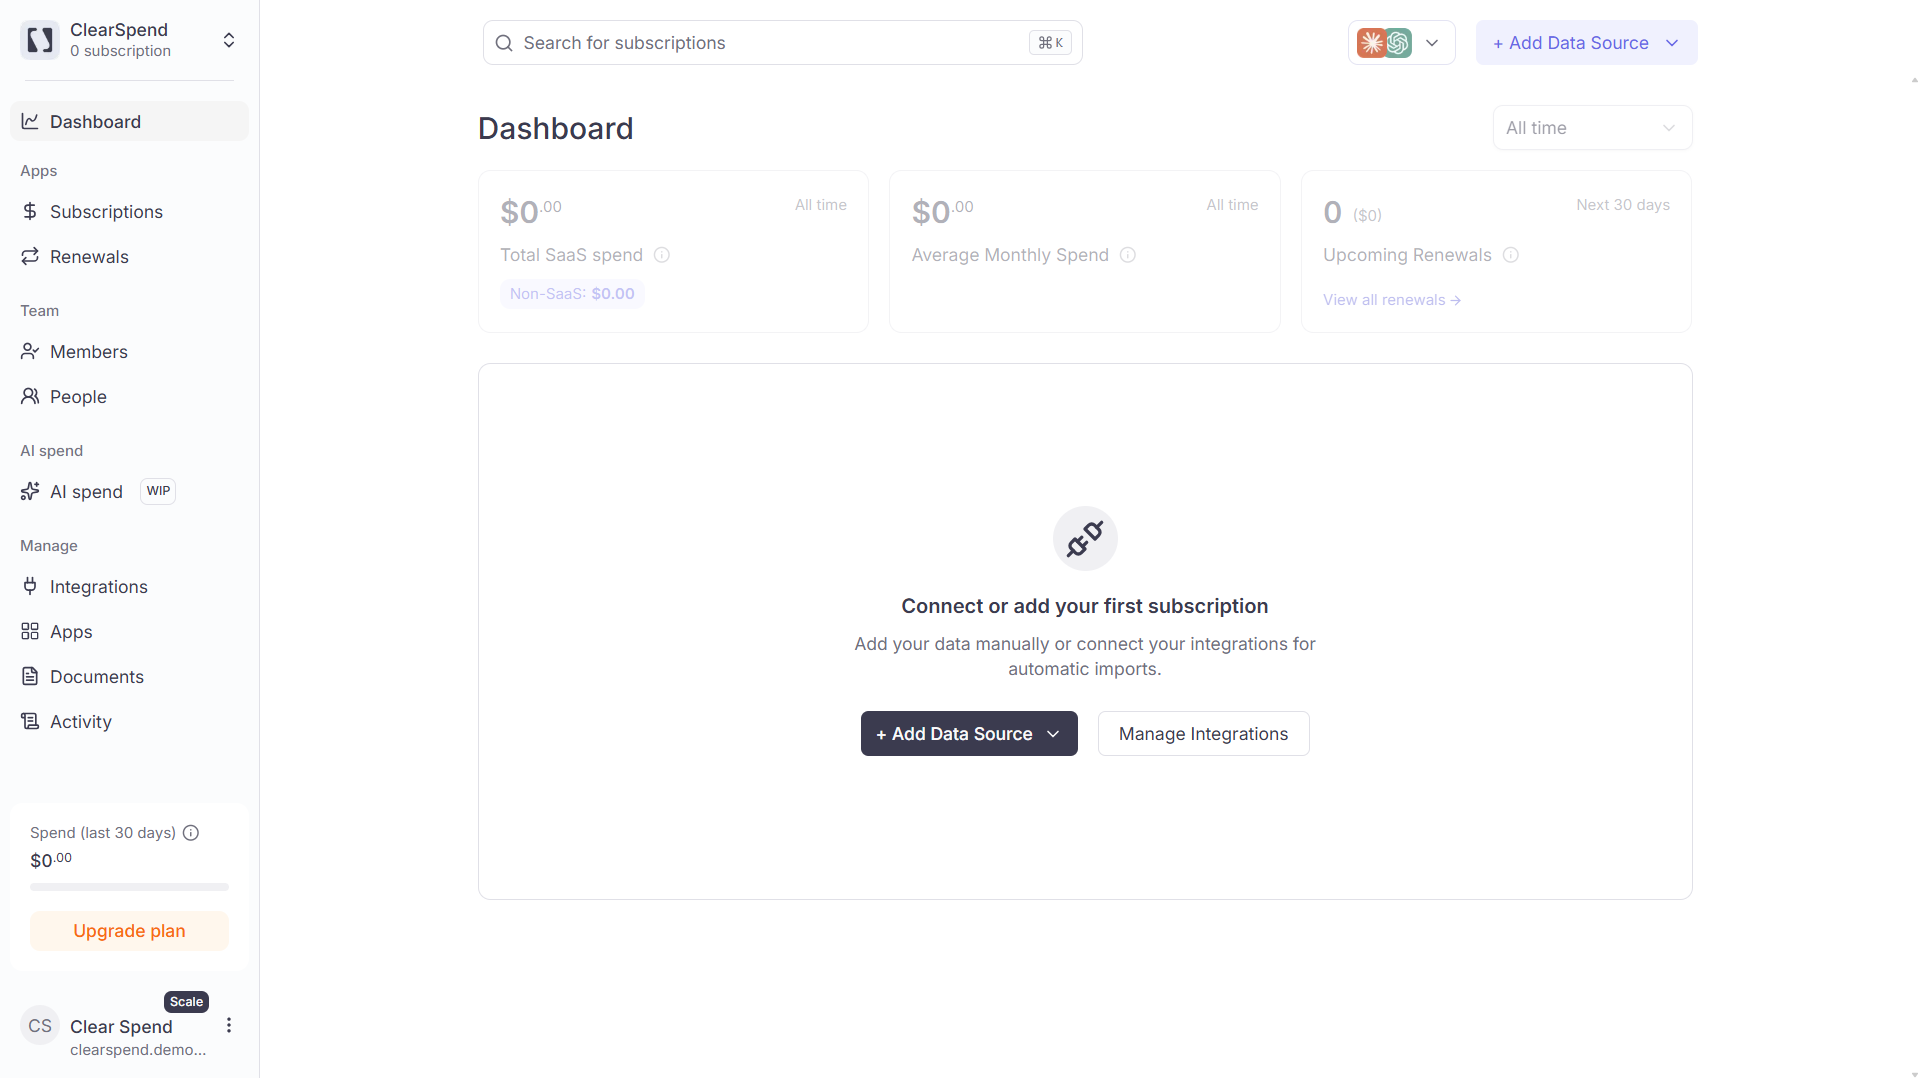
- + Add Data Source: upload an invoice PDF, card statement, or receipt directly. Once the file is parsed, subscriptions and spend figures appear on the dashboard and in the Subscriptions list within minutes.
- Manage Integrations: set up a continuous source such as Google Drive, Gmail inbox, or Google Workspace. These run in the background and keep your data fresh automatically.
Watch your data populate
As soon as a document is processed, ClearSpend extracts vendor names, amounts, billing periods, and renewal dates. You’ll see:
- Dashboard: KPI cards (Total SaaS Spend, Average Monthly Spend, Upcoming Renewals) update with real numbers
- Subscriptions: each identified service appears as a line item with its billing cycle, amount, and status
- Renewals: Upcoming renewals come from invoices and statement charges; charge-based dates are estimated and refined when invoice data is available
Connect more integrations for richer data
Once you’ve seen the basics, head to Manage → Integrations to connect additional sources:
Each new source fills in gaps: amounts from invoices, usage signals from OAuth, and charge dates from card data all combine into one unified view.
| Integration | What it adds |
|---|---|
| Google Workspace | Discovers all OAuth-connected apps and active users across your domain |
| Gmail | Auto-imports invoice emails and attachments from your inbox |
| Google Drive | Syncs invoice PDFs from a Drive folder on an ongoing basis |
| Connect your card | Detects SaaS charges from linked card accounts via Plaid |
Next steps
Core concepts
Subscription, app, document, renewal: what each one means.
Data sources & integrations
Deep-dive into every integration ClearSpend supports.
Install the Chrome extension
Capture in-browser app usage and one-click invoice downloads.
Collect missing invoices
Send a public upload link to app owners and vendors.